Introduction
Creating great sound effects takes a mix of technical skill, creative thinking, and a sharp ear. Whether you're designing hits for a game, building tension in a film, or adding subtle atmosphere to a scene, sound effects play a huge role in how stories are experienced.
But even the most experienced sound designers run into pitfalls. From overprocessing to messy workflows, there are a few common mistakes that can derail even the most promising projects. In this blog, we’ll walk through six of the most common mistakes made when creating sound effects, and how you can avoid them to level up your sound design work.
1. Incorrectly Capturing Sounds
No amount of creative editing can truly fix a poorly captured recording. One of the most common mistakes made when creating sound effects is failing to pay attention to the technical quality of their recordings, especially in terms of signal-to-noise ratio and sample rate.
Signal-to-Noise Ratio Matters
Getting clean input is critical. If your gain is too low, you’ll end up with noisy recordings that need aggressive boosting in post, bringing unwanted hiss or hum with the finished sound. Too high, and you risk clipping and distortion.
Example: Recording a fire crackle too quietly may seem like a safe move, but raising the gain later will amplify all the noise from your mic, recorder or computer. You lose the detail and texture that made the recording useful in the first place.
Tip: Always monitor with headphones. Keep your levels healthy, aiming for a strong signal without peaking, and reference the loudness of your recordings to other finished sounds either in a purchased library or through platforms such as Soundly. Pay attention to background noise and avoid recording in environments you can’t control. Close any windows that may be open within your recording space, and turn off any air conditioning units or anything that has the potential to create a hum. Mic placement also plays a huge part in achieving a good signal to noise ratio, so if you know that a sound is going to be quiet, or not very transient heavy, then play around with moving the mic closer to the sound source and tweaking the gain where necessary.
Use a High Sample Rate
Recording at low sample rates (like 44.1kHz or 48kHz) limits your flexibility. This may be fine for casual content, but for professional-grade SFX, especially those that require pitch-shifting or stretching, higher sample rates are essential. Not only does a higher sample rate give you flexibility in the editing process, but it will actually serve well if you are looking to distribute or sell your sounds in the future, as many creatives and sound designers in the industry will only purchase sound effects if they are in 24bit 96kHz, or 192kHz playback.
Example: A sci-fi UI beep recorded at 44.1kHz will most likely lose fidelity when pitched down for impact. At 96kHz or 192kHz, the same sound holds its clarity even under heavy processing.
Tip: Record and export your sounds at 24-bit/96kHz or higher. It gives you more post-production flexibility and aligns with industry standards across film, games, and broadcast. This is done at the very start of the creation process when you are creating your session in your DAW of choice.
2. Ignoring the Context of the Scene
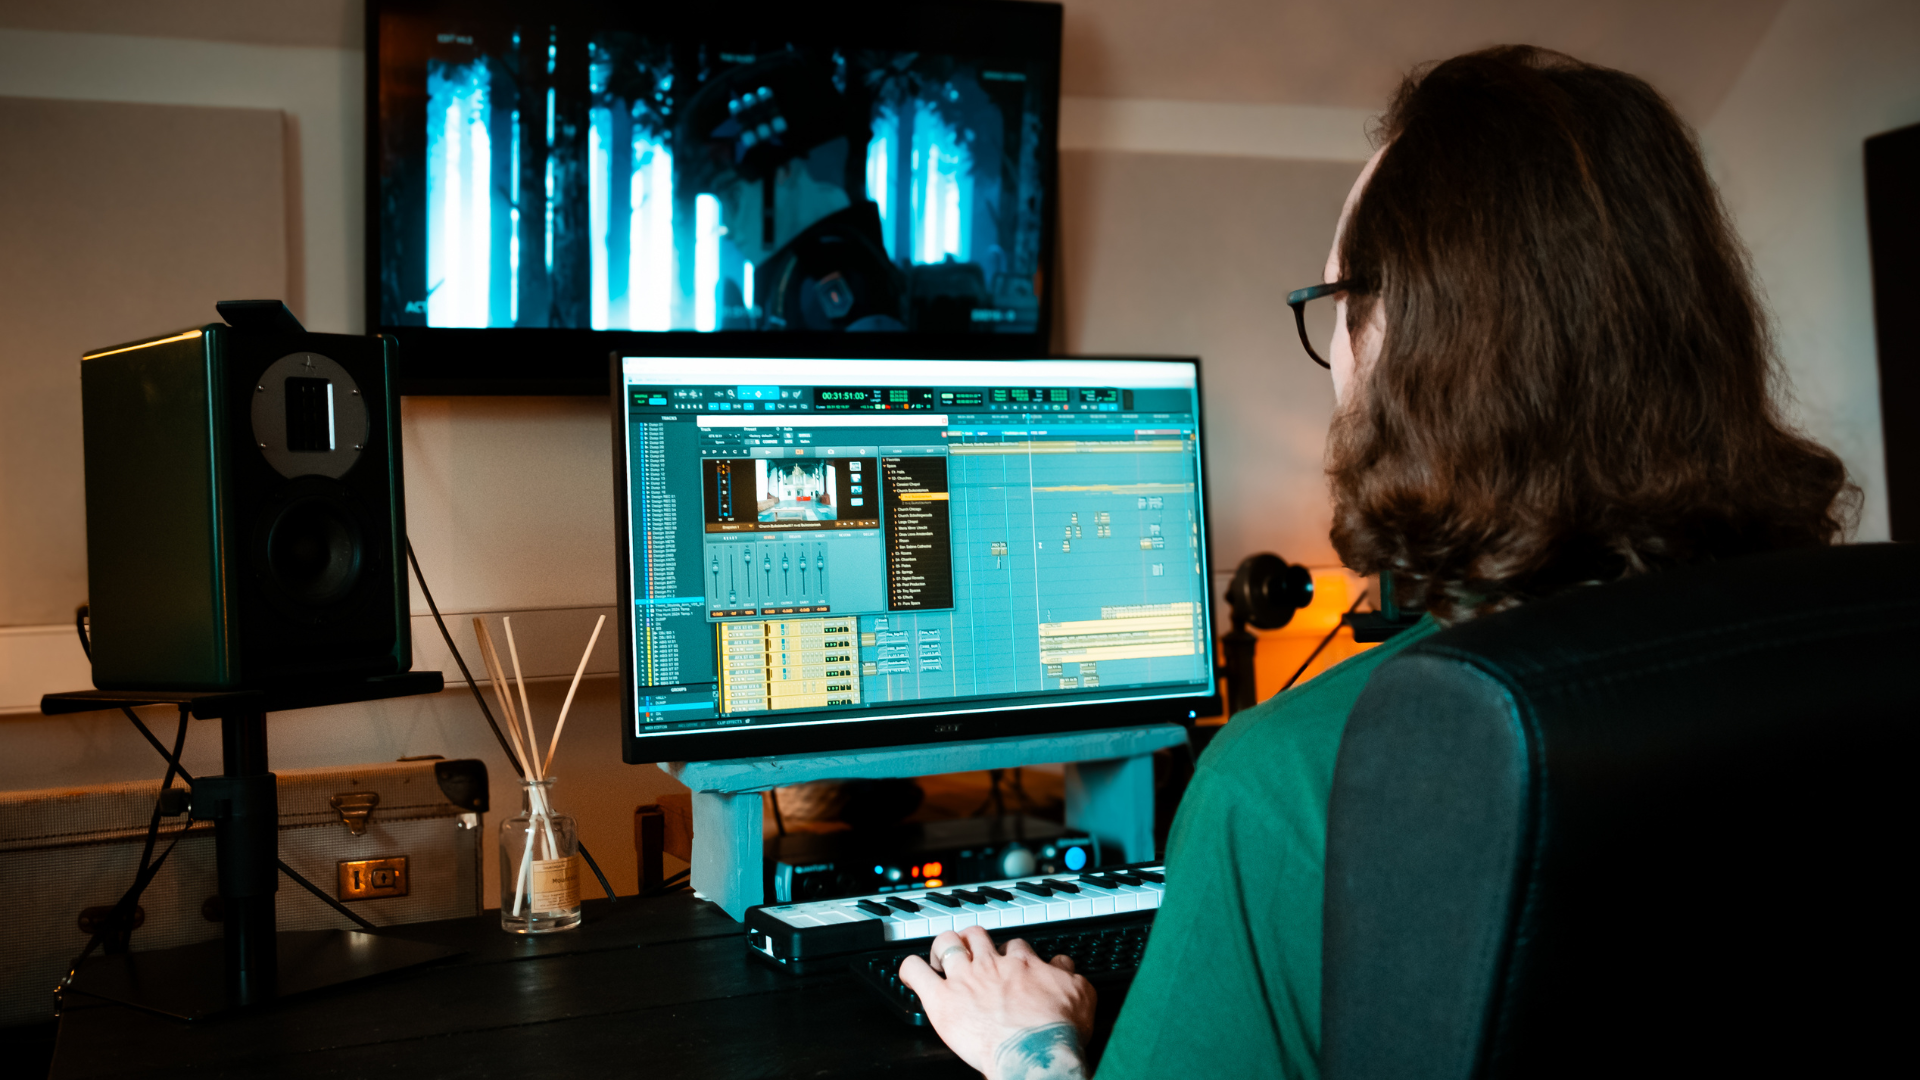
A sound may be well-recorded and well-designed, but that doesn’t mean it fits. One of the most common issues we see is designing sound effects in isolation, without considering their role within the scene.
Example:
You create a slick, layered whoosh for a sword swing. It sounds great solo, but when dropped into a fight scene, it drowns in the music and competes with other action cues. It’s not wrong, it’s just not right for that moment. It could even sound too dramatic, or too ‘Hollywood’ for that particular scene or production, leading you to create something a little less dramatic, or with a different tonality.
The same problem can happen with ambiences. For example, using a dense urban soundscape in a quiet countryside scene immediately breaks immersion. Even well-recorded ambiences can feel out of place if it doesn’t match the tone, setting, or geography. Check out our ‘How To Record Ambiences’ blog to dive deeper into this.
Tip:
Always preview your sounds in context. Ask yourself:
- Does this match the environment on screen?
- Does it support or distract from the scene’s emotion?
- How does it interact with music, dialogue, and other SFX?
- Does my sound match the desired time period of the scene/project?
- Does the sound created match the object that it is integrated with? For example using a real gunshot sound for a sci-fi weapon would sound and feel completely wrong.
Design for the mix, not just the timeline.
3. Overprocessing the Sound
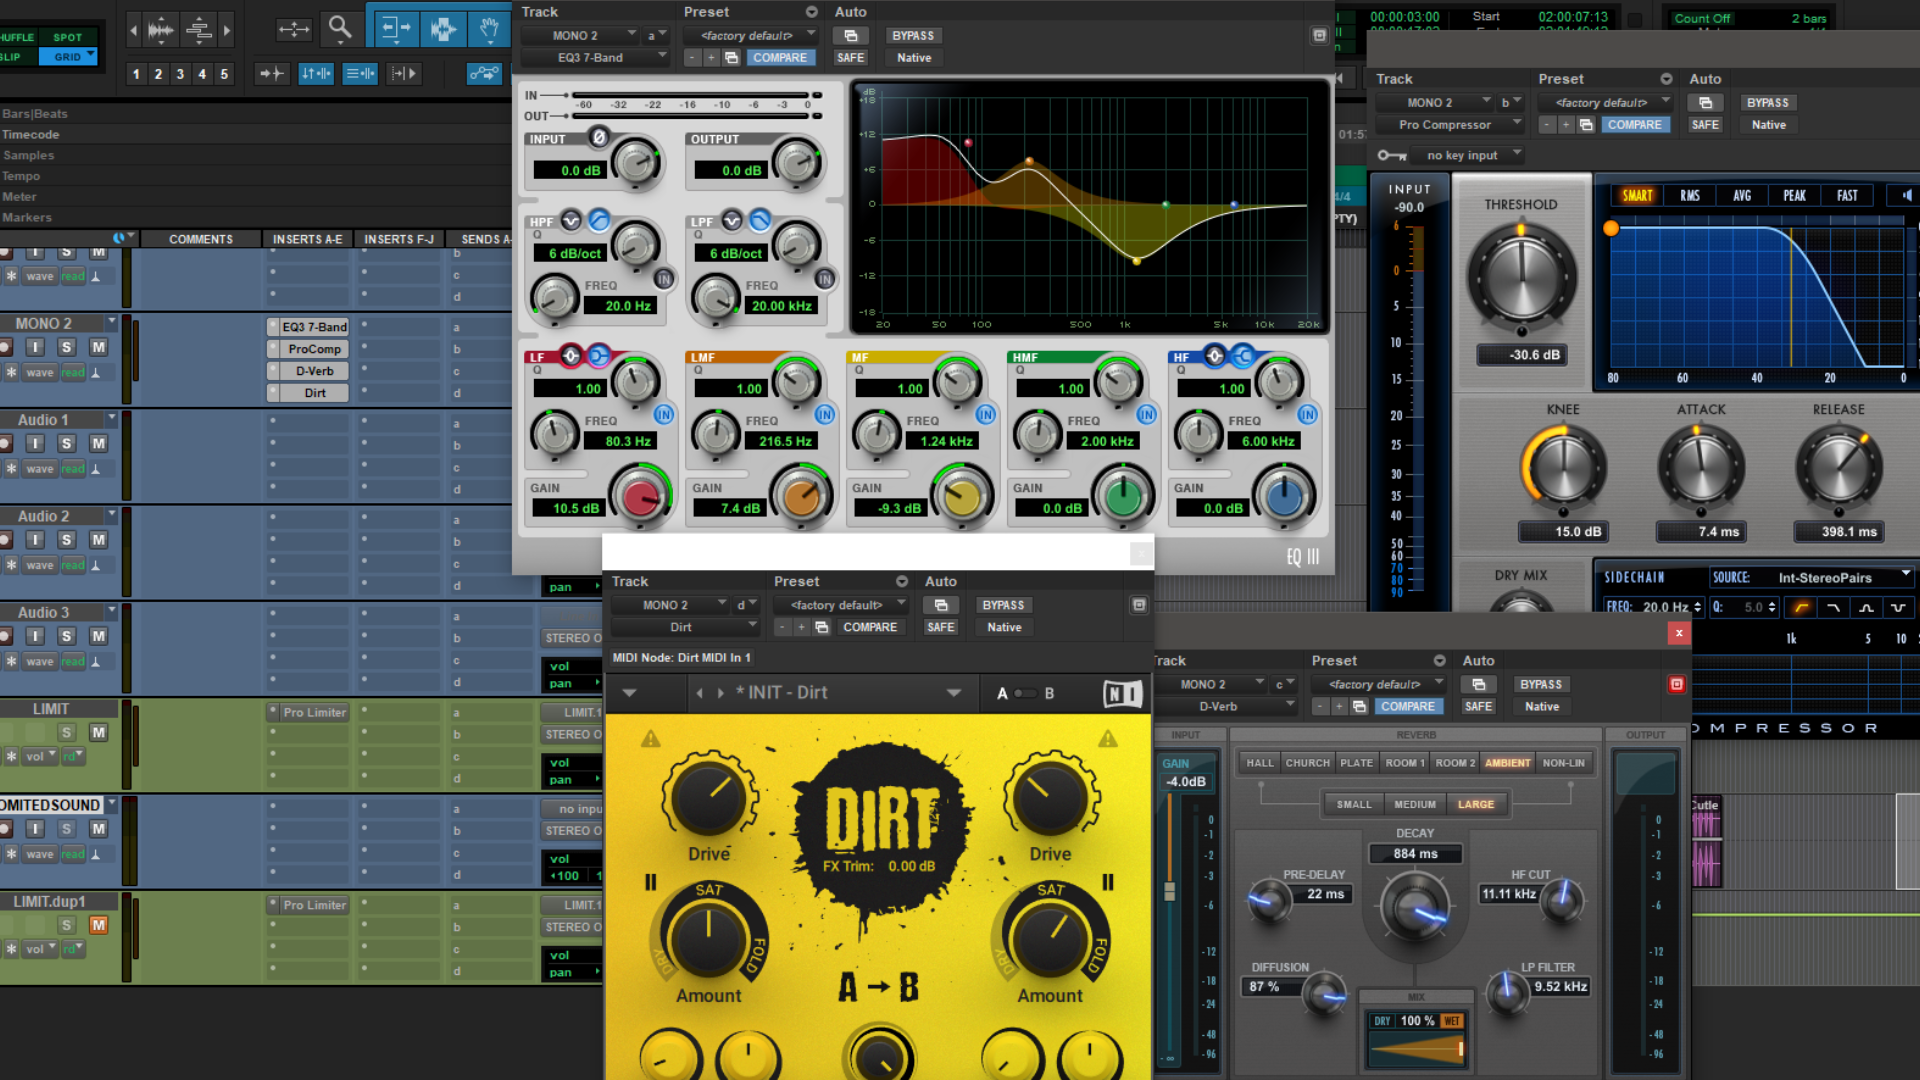
The process of sound design and audio creation offers a vast toolbox, EQs, compressors, reverbs, saturators, transient shapers, modulators, and more. But overusing these tools can do more harm than good. When a sound is processed too heavily, it can lose its natural dynamics, clarity, and character, becoming flat, brittle, or even fatiguing to listen to.
Example: Let’s say you’ve recorded or designed a series of gunshots. In the process of wanting to make it sound more “cinematic,” you add saturation for warmth, reverb for space, EQ to boost the highs and distortion to add more harmonics and make the sound appear more aggressive. Individually, these moves make sense, but together, they have the potential to push the sound into an overly polished, synthetic space that feels disconnected from the rest of the mix. Overusing compression can sometimes hinder a sound, and even be quite deceptive, because although your effect may sound more consistent and balanced overall, due to the harsh compression you have now actually negatively affected the transients, removing any natural punch and bite that your sound once had.
Tip: Use processing to slightly enhance, not to repair. Start with a strong sound source and a clean recording, then build around it. When applying effects, ask:
- Does this help the sound sit better in the mix?
- Am I solving a problem or just piling things on?
- Maybe I should reference my sound to other creations within the industry?
- Has ear fatigue negatively affected my overall perception of the sound?
Subtlety often wins. Trust your ears, compare against the original regularly, and don’t be afraid to dial things back if the sound starts losing its punch or authenticity.
4. Using Too Many Layers
Layering is a fundamental part of sound design, it allows you to build rich, textured effects that feel full and immersive. But when you stack too many elements without a clear structure, you risk cluttering the sound and diluting its impact. The result is often a muddy, unfocused effect where nothing stands out.
Example: You’re designing a zombie vocal for a cinematic trailer. You layer multiple human growls of varying intensity, pitched-down pig squeals, and processed animal snarls. The intention is to make it terrifying and visceral, but the result is an indistinct wall of sound. None of the elements cut through clearly, and the performance loses its realism and emotional bite, it’s just a mixture of noise with no attention paid to the actual composition or performance of the sound.
Tip: For a zombie growl that feels rich and layered but not overly cluttered, start by selecting one strong vocal performance as your foundation, something that already captures the character you’re going for. Record a few variations (even on your phone or home setup) and choose the one that feels the most convincing and expressive.
Once you’ve settled on a specific groan, re-record it three to four times, matching the same timing and phrasing, much like stacking harmonies in a song. From there, assign each take a role in the frequency spectrum:
- One for mid-range detail
- One for low-end body
- One for high-frequency texture
- Use the fourth layer for experimentation, try adding phasing, pitch bends, or other modulation effects to introduce instability and tension.
Adjust the pitch and timing slightly between layers to create that eerie, otherworldly texture zombies are known for, without losing definition or punch.

5. Not Paying Attention to File Management
Strong sound design isn’t just about what you hear, it’s also about how well your work is organised behind the scenes. One of the major common mistakes made when creating sound effects is poor file management. It can slow down your workflow, create confusion in collaborative projects, and make it harder to revisit or reuse your own work in the future.
Even small missteps, like vague filenames, inconsistent folder structures, or forgotten export settings, can cause problems down the line.
Example: You create a project called ‘Sound Design Session 13’ (because you haven't been properly naming your sessions over time). You then export a batch of sound effects as - SFX_Final.wav, SFX_Final_FINAL.wav, and Door_Thingy.wav. A few weeks later, a client requests a revision, and you have no idea which session or version you used. You now find yourself spending more time searching than designing.
Tip: Use clear, consistent naming for your projects such as ‘Wooden Doors Vol. 1 17/07 AS’ (AS being the initials of your name). Also apply the same standards to your exported sounds such (e.g., Wood_Door_Creak_Long_96k_Wooden Doors Vol. 1.wav), group sounds by category or project, and maintain a logical folder system. If you're planning to share or license your work, embedding metadata or following standards like UCS makes your files easier to search and more professional overall.
Good file management saves time, reduces stress, and gives your work long-term value.
6. Overlooking Performance and Physicality
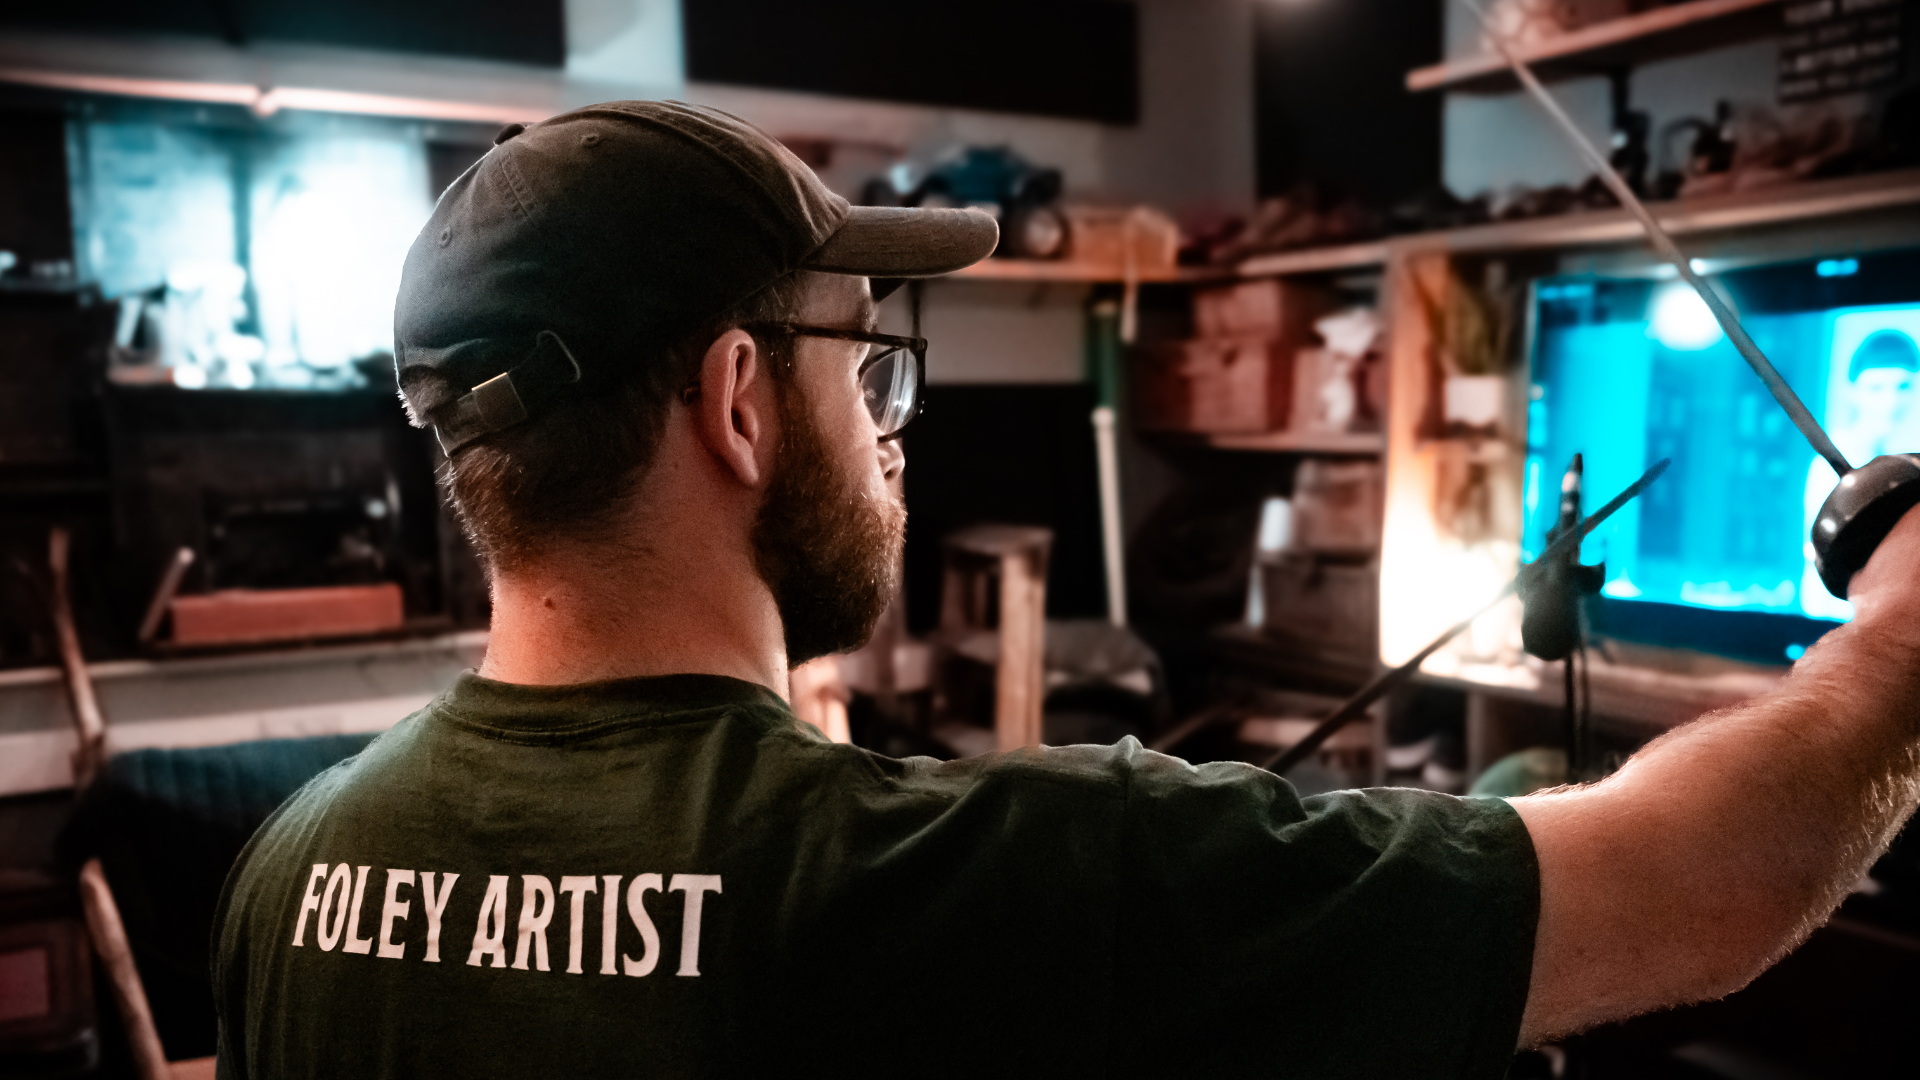
Sound design isn’t just technical, it’s also performative. When you rely solely on DAW editing and digital manipulation, your effects can start to feel static or lifeless. Adding physicality, by recording real movements or performing the sounds yourself, can inject energy, realism, and a sense of spontaneity that’s hard to fake. To achieve the best outcome with these types of performances, is to act as if you are the protagonist on screen, and not just someone recording sounds in a studio.
Example: Instead of building a cloth rustle using generic drag-and-drop library sounds, which can sometimes prove difficult trying to find the correct sound to match the moving image, try grabbing a jacket and recording yourself mimicking the movement. The subtle inconsistencies and natural rhythm of real movement often make the effect feel more alive and grounded.
Tip: Step away from the timeline now and then. Handle objects, interact with props, or even use your voice for creature or character sounds. Slight mic movements, changes in proximity, and timing imperfections all add a sense of realism that pure editing can’t fully replicate. Instead of using a pre-made footsteps library, grab some shoes and a suitable surface, and perform the sounds yourself as if you are the character on screen, and if you need to emulate a crunchy gravel sound indoors, then a layer of salt granules (preferably grit) on the floor will do the trick!
Even in stylised sound design, physical performance adds personality and nuance, and that’s often what makes a sound stand out.

Conclusion
Sound design is all about intention, balancing creativity with control. Avoiding these six common mistakes will help you produce clearer, more effective sound effects, while also improving your workflow and collaboration. From capturing clean recordings to mixing in context, every decision shapes the emotional power of the final piece.
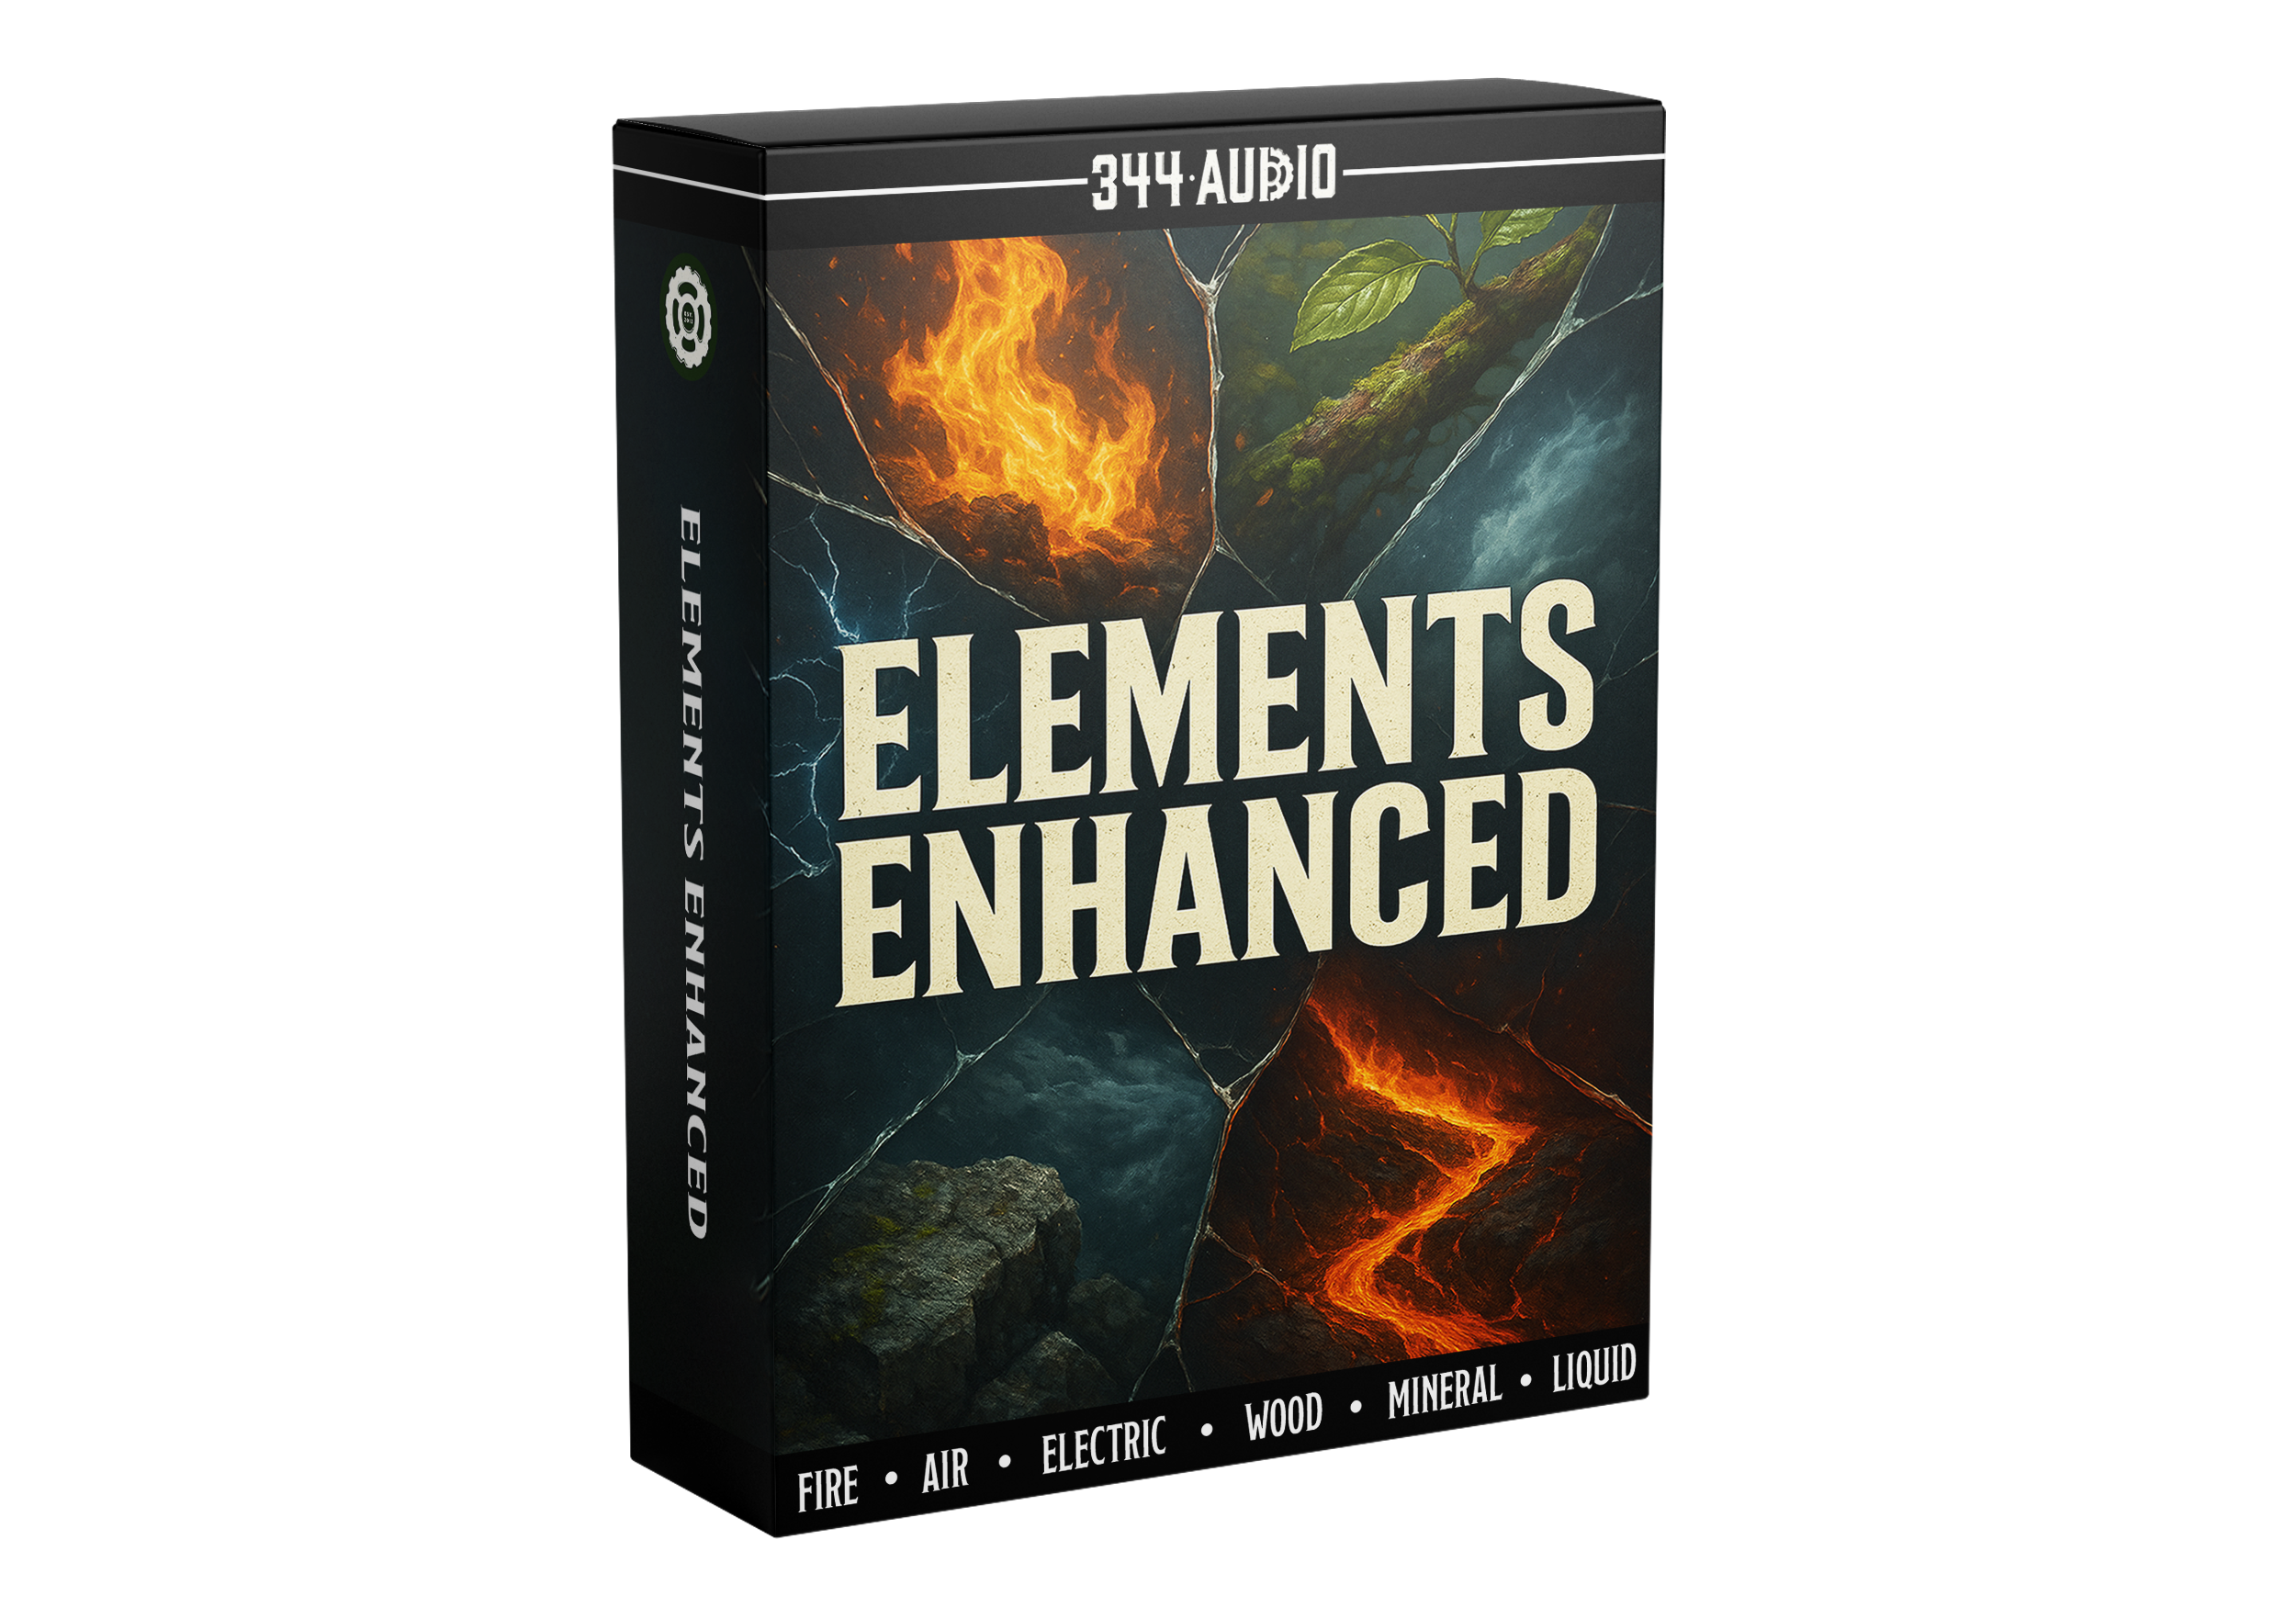
ELEMENTS ENHANCED - If you’re looking for a versatile collection of sound effects that blends both designed and recorded material, we recommend checking out our Elements Enhanced bundle. It features a wide range of elemental textures, from fire crackles and electromagnetic surges to foliage movement, liquid splashes, glass impacts, and more, designed to bring depth and realism to any scene. Click the link here or the image below to find out more!
